REVIEW · OSAKA
Osaka Night Photography Workshop
Book on GetYourGuide →Operated by Shoot Travel Japan · Bookable on GetYourGuide
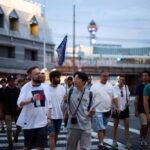
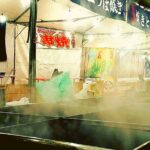
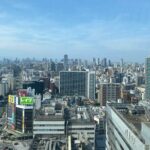
Osaka at night is a camera cheat code. This 3-hour night photography workshop pairs real street scenes with hands-on coaching, so you’re not just taking photos, you’re learning how to make them. I like the way the guide works with your level (true beginner to more advanced), and I like that you’ll practice with manual settings instead of hovering around “auto” all evening. One thing to plan for: you will do a lot of walking, so bring shoes you trust and expect your phone or camera battery to take a hit.
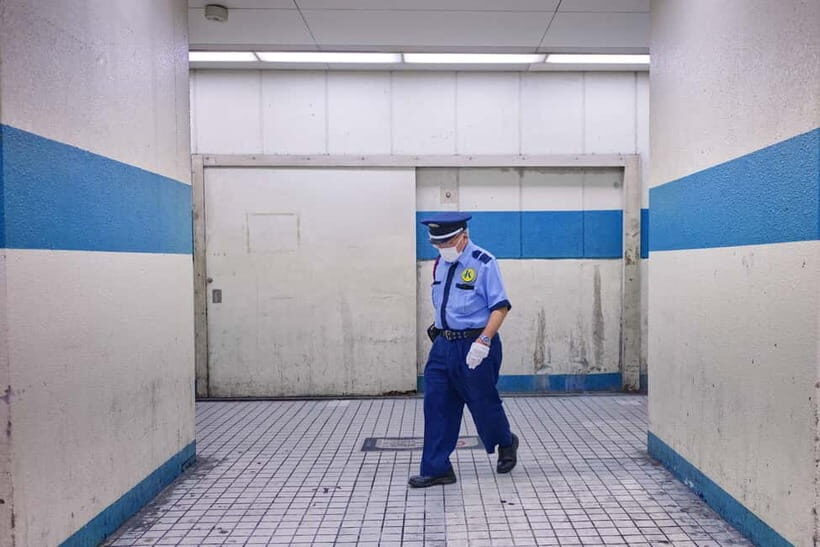
The route is built around high-impact areas like Dotonbori, Nipponbashi, and Shinsekai, then you push on to Tennōji for more chances to nail low-light shots. The main trade-off is time: in just three hours, you’ll cover a lot, so you’ll want to show up ready to shoot fast (and swap memory cards before you’re forced to).
In This Review
- Key things I’d focus on before you go
- Osaka at Night, Where Your Camera Actually Learns
- Meet Your Guide: Irven Lewis and the Pace That Fits You
- Dotonbori: Neon Geometry and Street-Level Storytelling
- Nipponbashi: Close-Up Subjects and Smarter Night Exposure
- Shinsekai: Street Photography Confidence in Low-Light
- Tennōji: More Angles, Better Odds, and No Time Wasted
- Manual Mode, Tripod Skills, and the Night Techniques That Matter
- Gear Flexibility: DSLR, Mirrorless, or Smartphone
- Price Value: What $200 Buys in 3 Hours
- What You Should Bring (So the Night Doesn’t Win)
- The Kyoto-Words in the Details: Double-Check Your Route
- Quick Breakdown of the Route Logic (So You Know Why It Works)
- Should You Book This Osaka Night Photography Workshop?
- FAQ
- How long is the Osaka Night Photography Workshop?
- How much does the workshop cost?
- What locations will we visit during the shoot?
- Is this tour only for beginners?
- Do I need a specific camera?
- Will I learn camera settings and tripod skills?
- Is food included?
Key things I’d focus on before you go
- Manual-mode coaching that matches your level, from exposure basics to more advanced night techniques
- Tripod and sharpness practice, including how to control settings for nighttime steadiness
- Photo stops that teach composition in real time, not just theory on a sidewalk
- A guide who will adjust the plan when you ask, including less typical shooting requests
- Lots of coverage in 3 hours, meaning you should pack extra battery and shoot with intent
- Light-trails options if you choose that focus for the evening
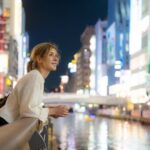
Osaka at Night, Where Your Camera Actually Learns
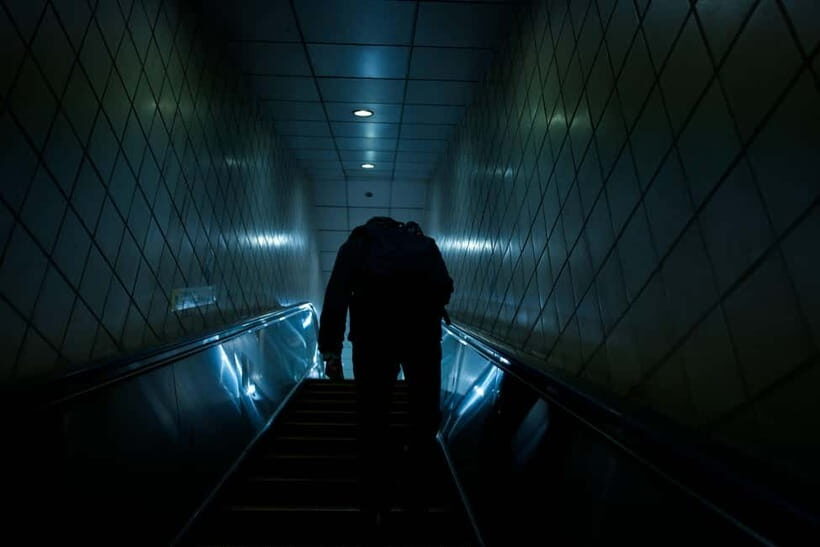
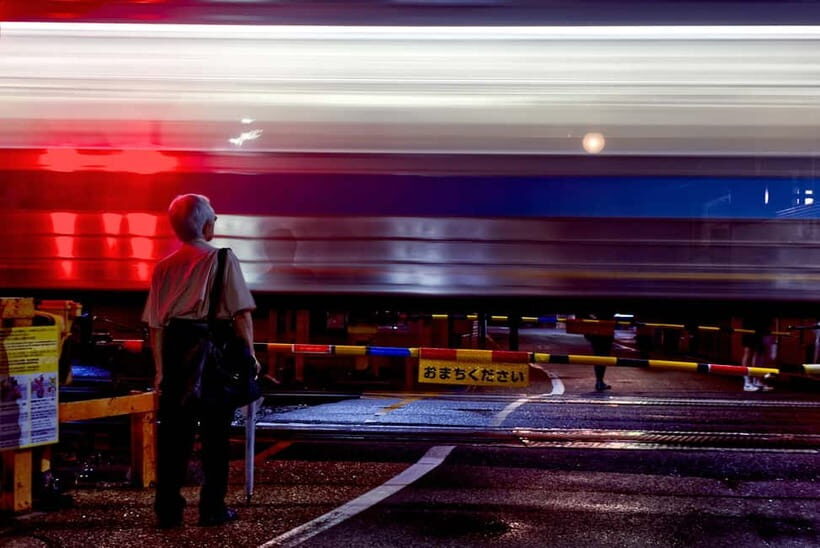
Night photography is where most cameras stop behaving like toys and start behaving like tools. The light in Osaka is strong and varied: bright signage, storefront glow, wet-looking pavement in some areas, and moving crowds. That mix is exactly why this kind of workshop works so well. You learn by doing, because every block forces you to make quick decisions about exposure and framing.
This workshop is built around coaching, not just location hopping. You’re taught how to work the exposure triangle—aperture, ISO, and shutter speed—so your photos start looking intentional. And since you’ll practice at each stop, you can see what changes when you adjust one setting at a time.
You can also read our reviews of more evening experiences in Osaka


Meet Your Guide: Irven Lewis and the Pace That Fits You
The English-speaking guide for this workshop is Irven Lewis (Irvenlewisphotography.com). What stands out is how he handles different skill levels. If you’re new to street photography, you get help with what to point your camera at and how to frame it. If you’re already comfortable with your settings, he’s the kind of guide who can shift to your goals and show you where the best results show up.
There’s also a practical detail I appreciate: Irven is described as game for requests that go beyond the usual route. One attendee asked for spots he doesn’t typically take clients to, and the guide matched the ask. That’s a big deal if you’re the type who wants a specific look—like tighter scenes, less obvious angles, or a more particular kind of street subject.
One more thing: expect your pace to be matched to your comfort level. That matters because night photography punishes slow reactions. You can’t always wait for perfect timing, so a guide who keeps you moving while still letting you learn is worth its weight in camera batteries.
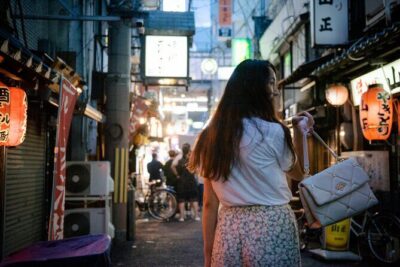
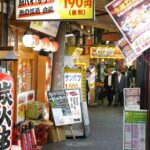
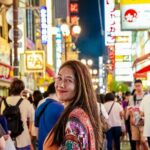
Dotonbori: Neon Geometry and Street-Level Storytelling
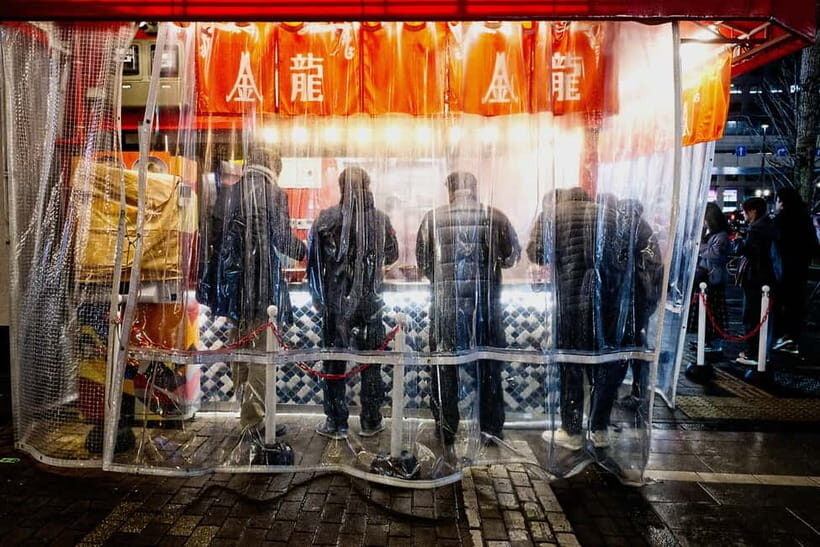
Your night starts at Dotonbori, one of Osaka’s most photo-friendly districts for lights, lines, and fast subject matter. This is where you’ll practice turning chaos into composition.
Here’s what that usually looks like on the ground:
- You’ll focus on framing: foreground signage versus background lights, and how to place a subject so the scene doesn’t feel random.
- You’ll work on timing: deciding when to shoot a moving subject so your image is sharp enough and your story still feels alive.
- You’ll apply the exposure triangle right away, because the brightness varies block to block.
Dotonbori is also great for practicing how manual settings change your look. If you choose a shorter shutter speed, you freeze motion. If you slow it down, you get that night-energy blur that can look cinematic when used on purpose. And with a tripod session in the mix, you’ll learn how to control steadiness so your sharp areas stay sharp.
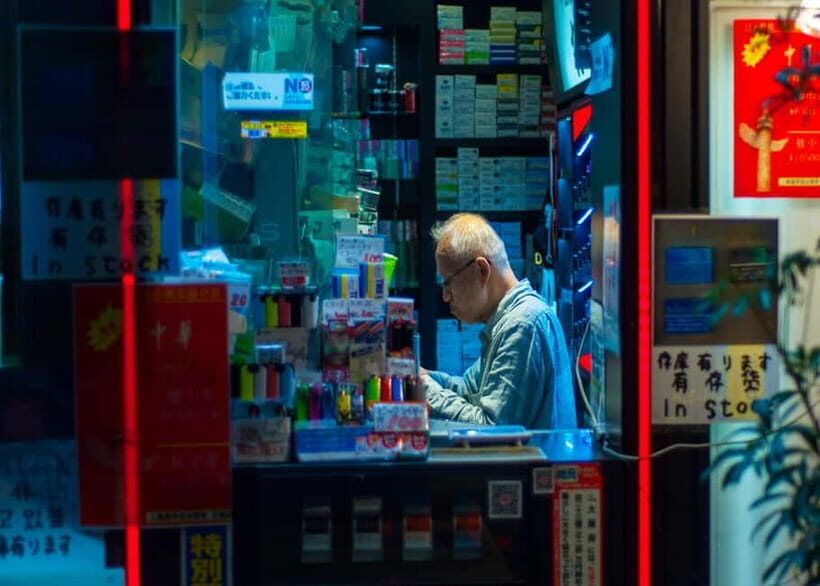
Nipponbashi: Close-Up Subjects and Smarter Night Exposure
From Dotonbori you move to Nipponbashi. This area helps you shift from wide neon vibes to more “photo you actually want to keep.” The point here is learning how to handle tricky lighting: bright highlights next to darker sections, plus subjects that aren’t always evenly lit.
This is where coaching really shows up. Instead of telling you to shoot more, the guide helps you make better decisions:
- How to adjust ISO so noise doesn’t swallow your highlights
- How to choose an aperture that keeps enough of the scene in focus
- How to select shutter speed to balance motion versus sharpness
If you’re a beginner, this part helps you get off the auto-pilot. If you’re more experienced, it’s a chance to refine your night routine so you stop guessing.
Also, Nipponbashi is useful for practicing composition without feeling like you’re chasing a single postcard angle. You can shoot small details, signage, hands, faces, or objects—then connect them back to the bigger Osaka story.
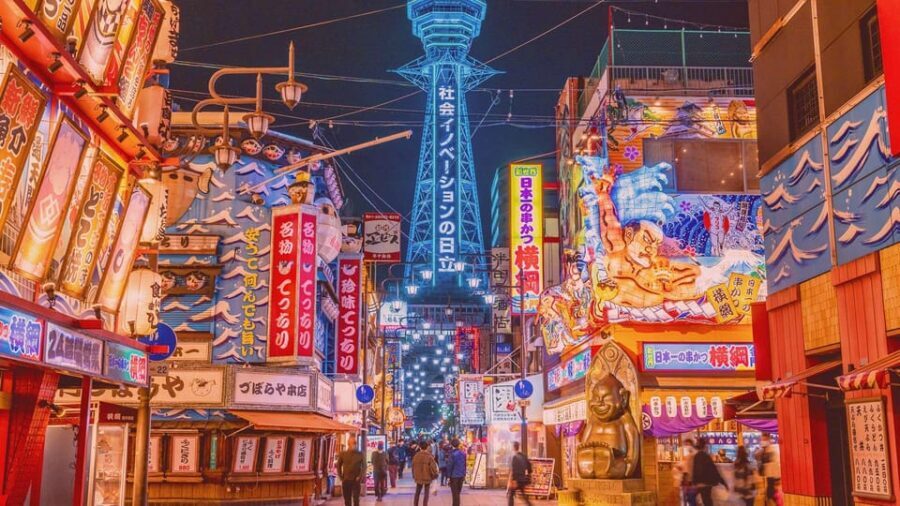
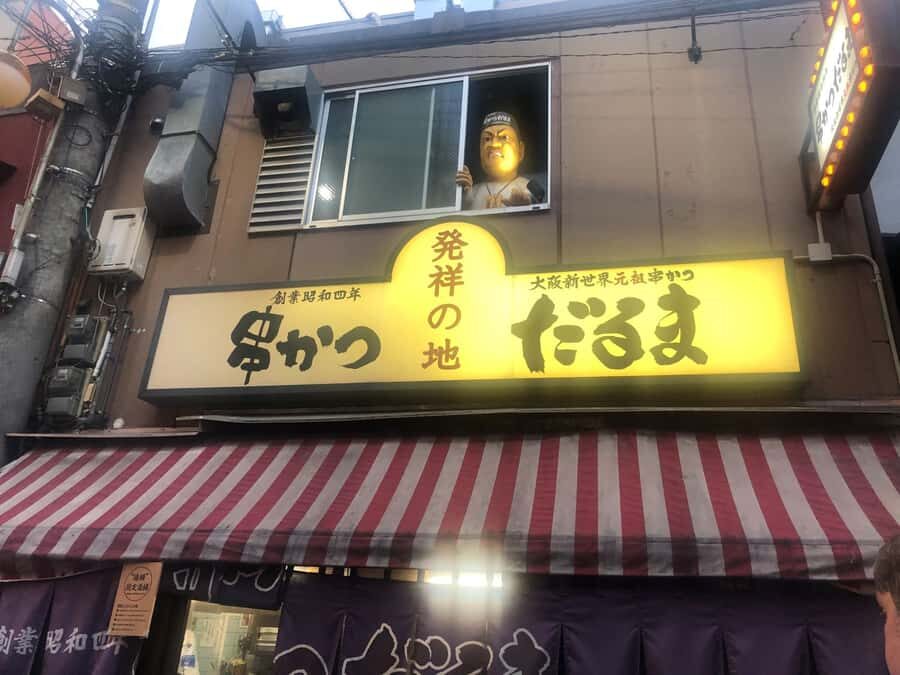
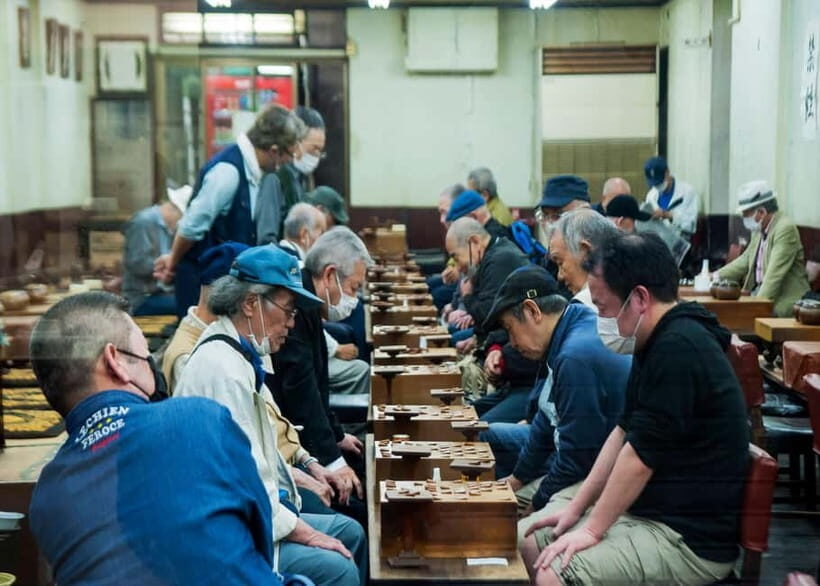
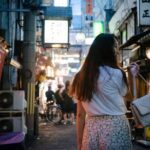
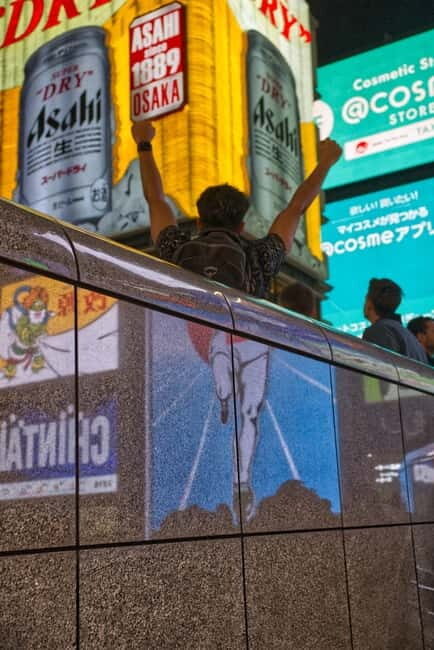
Shinsekai: Street Photography Confidence in Low-Light
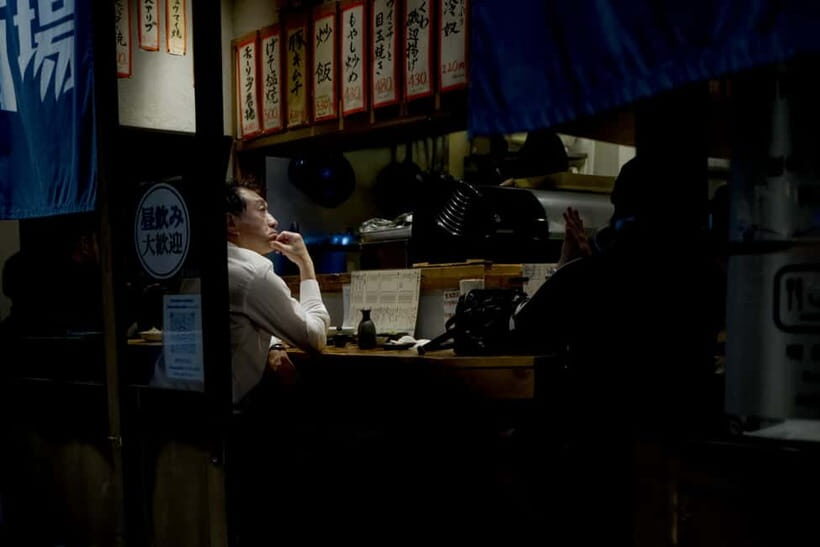
Then comes Shinsekai, a district where the night photos can get a little more character-heavy. This is where street photography stops being “I got a shot” and starts becoming “I made a photo.”
If you’re new, this is often the hardest part to navigate because your brain wants to wait for a perfect scene. Coaching helps you move from waiting to seeing. You’ll get suggestions for what subjects to look for and where to position yourself so your frame feels intentional.
For more advanced shooters, Shinsekai is useful for testing how your settings handle contrast. Night scenes often punish your exposure choices. Too bright and everything turns into blobs of light. Too dark and your subject disappears. Your guide’s step-by-step feedback helps you calibrate faster.
And because this is a walking-heavy workshop, Shinsekai is also the place where you’ll learn how to keep shooting even as your energy levels change. That’s a real skill for street work, not just a fun extra.
You can also read our reviews of more photography tours in Osaka

Tennōji: More Angles, Better Odds, and No Time Wasted
Finally, you head to Tennōji, where the workshop gives you more photo chances to refine what you practiced earlier. In a three-hour window, the biggest value of a late-stage stop like Tennōji is reset time. You’ve already learned the basics at the earlier locations, so you can now focus on execution.
Think of Tennōji as your “let’s make this better” segment:
- You’ll re-check composition habits (spacing, lines, subject placement)
- You’ll apply your exposure triangle choices with more confidence
- You’ll keep shooting until you land a few images that feel like your style
This is also where the guide’s feedback becomes especially helpful. You’re not just collecting photos; you’re improving the next one.
Manual Mode, Tripod Skills, and the Night Techniques That Matter
The workshop doesn’t treat manual mode like a punishment. It treats it like a way to control the mood. You’ll learn how to:
- Work with manual settings
- Control aperture, ISO, and shutter speed
- Use composition and framing to guide the viewer’s eye
- Create night effects like light trails (and you’ll focus on timing for those shots)
One detail worth noting: there’s explicit coaching on how to work with a tripod. Night photography often forces slower shutter speeds, and without a tripod (or good technique), you can end up with images that are blurry when you wanted sharp detail. Learning tripod workflow inside the workshop saves you the frustration spiral later.
If you opt into the optional evening focus, you can aim for light trails and illuminated scenes. That’s a great way to stretch what you learned about shutter speed and timing, because light trails are basically exposure triangle lessons in visual form.
Gear Flexibility: DSLR, Mirrorless, or Smartphone
You don’t need a specific camera type to join. The workshop supports DSLR, mirrorless, and smartphone users. That matters because nighttime shooting is really about understanding exposure and framing, not about owning the most expensive body.
That said, you should bring the gear you can confidently control:
- If you have manual controls, you’ll get more out of the instruction.
- If you’re on a smartphone, you’ll still benefit from guidance on what to shoot and how to approach night light and composition, even if the exact settings differ.
Also, bring gear you can actually keep powered. One attendee mentioned covering so much that their camera battery ran low before they did, and they were glad to have extras. I’d treat that as a sign to pack at least one spare battery (or a solid external charging option if you’re phone-only).
Price Value: What $200 Buys in 3 Hours
At $200 per person for a 3-hour private-group workshop, the value comes from coaching time plus real practice in real night conditions.
If you’ve ever tried to learn night photography from YouTube clips, you know the problem: the tips don’t adjust to your exact camera settings, your lens, or what you’re pointing at. Here, you get:
- Step-by-step guidance tailored to your level
- Hands-on practice through multiple locations
- Photo review and constructive feedback to help you fix what’s not working
The workshop also covers a lot of ground across iconic Osaka areas. That’s hard to recreate on your own in a single evening without wasting time figuring out where to go and what to shoot once you arrive.
The only “but” is that you’re paying for guided improvement. If you want a purely sightseeing walk with no focus on camera technique, this might feel too instructional.
What You Should Bring (So the Night Doesn’t Win)
The only listed requirement is comfortable shoes. I’d add a few reality-based suggestions based on how the workshop runs:
- Extra camera battery, because you’ll be shooting continuously
- A way to keep your phone charged if you’re using it as your primary camera
- A small lens cloth or tissue for night grit and condensation (depending on conditions)
- Memory cards or storage space, because neon scenes generate lots of near-duplicates while you refine settings
And wear clothing you can move in. Since the workshop includes multiple districts and a train hop, you want to stay comfortable even when you’re stopping often to adjust settings.
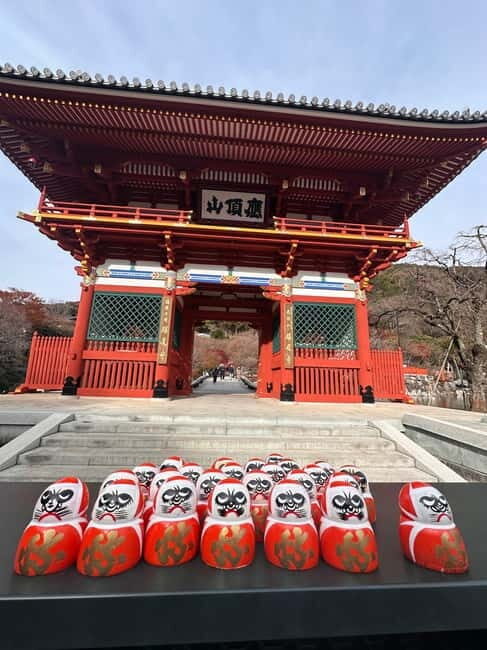
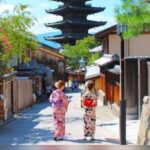
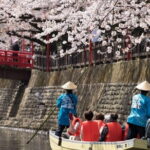
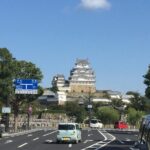
The Kyoto-Words in the Details: Double-Check Your Route
One tricky detail in the provided information is that the included photo-stop list mentions several Kyoto locations—like Kiyomizu-dera Temple, Yasaka Pagoda, and Fushimi Inari Taisha—along with Osaka-focused districts. Since this experience is labeled as an Osaka night workshop, I’d treat that as a reason to confirm what’s actually on your date.
When you book, ask your guide or operator what your exact route includes for your session. You’ll be happier if you show up expecting the Osaka locations you want—especially if you’re traveling on a tight schedule.
Quick Breakdown of the Route Logic (So You Know Why It Works)
This workshop makes sense as a learning loop:
- You start at Dotonbori to learn how night light behaves and practice fast composition choices.
- You move through Nipponbashi to handle contrast and refine exposure triangle decisions.
- You head to Shinsekai to build street confidence and apply framing under tricky lighting.
- You finish at Tennōji so you can consolidate your gains with more odds at strong shots.
That sequence matters. You don’t learn one setting theory and then leave. You practice, adjust, and then apply again in the next district.
Should You Book This Osaka Night Photography Workshop?
Book it if:
- You want hands-on coaching on manual settings and night shooting, not just a sightseeing tour.
- You’re either a beginner who wants the basics taught clearly, or a shooter who wants a guide to show smart photo spots.
- You like structured practice with feedback, especially on composition, exposure, and tripod technique.
Skip it (or at least rethink) if:
- You don’t want a walking-heavy session.
- You’re hoping for a no-stress photo stroll where you can ignore technique.
- You only care about food and meals, since food isn’t included.
If you want to come home with photos that look like you understand the light, this workshop is a strong use of an evening.
FAQ
How long is the Osaka Night Photography Workshop?
It lasts 3 hours.
How much does the workshop cost?
The price is $200 per person.
What locations will we visit during the shoot?
The route described includes Dotonbori, Nipponbashi, Shinsekai, and Tennōji.
Is this tour only for beginners?
No. It’s described as working well for absolute beginners who want camera basics, and also for professionals who want guidance on photo spots and techniques.
Do I need a specific camera?
No. DSLR, mirrorless, and smartphone users are welcome.
Will I learn camera settings and tripod skills?
Yes. You’ll be coached on manual settings and how to work with a tripod, including exposure triangle topics like aperture, ISO, and shutter speed.
Is food included?
No, food is not included.