REVIEW · OSAKA
Japanese Calligraphy Experience in Osaka
Book on Viator →Operated by 日本の書道 · Bookable on Viator
Japan’s calligraphy feels personal fast. In Osaka, you get guided, step-by-step Japanese brush instruction and end up with a finished piece you can actually frame and display. I especially like the way the instructor walks you through the tools and stroke-by-stroke technique, not just the final character. One thing to consider: you’ll choose from the kanji options provided (16 popular characters), so it may not match a very specific character you already had in mind.
You’ll also leave with more than a souvenir. You get a short cultural setup, then hands-on practice, then a polished presentation of your work in a portable hanging-scroll style frame. The pacing is tight, but it’s designed for first-timers, including people who have never held a calligraphy brush before.
If you’re in Shinsaibashi at the right time, this is an easy add-on. The session runs about 1 hour 30 minutes, with a small group size (up to 10), and the hotel location is close to the subway.
In This Review
- Key highlights to know before you go
- Where Osaka Shinsaibashi turns into a calm calligraphy studio
- What you actually make: one kanji, done your way
- Step-by-step: how the class builds your strokes
- The culture story first
- Learning the tools (before you touch the brush)
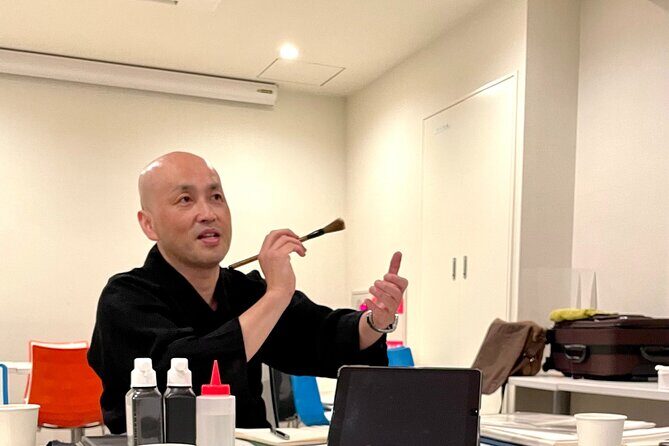
- A demonstration from the instructor
- Choosing your kanji
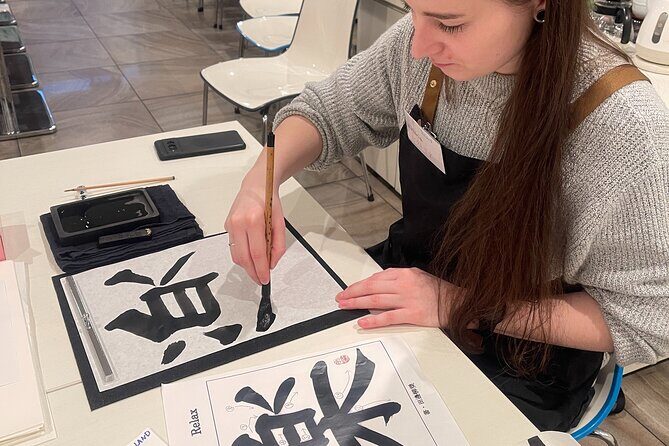
- Practice time with guidance
- Completing your original art
- Ryusho’s teaching style: clear, patient, and practical
- The finale: tea, sweets, and a photo with your work
- Price and value: why $51.24 can make sense
- Who this is best for (and who might want to think twice)
- A few practical tips so your character looks its best
- Should you book Japanese calligraphy in Osaka?
Key highlights to know before you go
- Stroke-first teaching: you practice the brush movement one step at a time before writing your chosen kanji
- Pick from 16 prepared kanji: choose one character from popular options used overseas
- Take-home hanging scroll style display: your work goes into a special frame you can fold and carry
- Materials and presentation included: you work on a board sized for a clean, finished look (242 × 273 mm)
- Tea, sweets, and a photo: you end with a small Japanese break while you show off your work
Where Osaka Shinsaibashi turns into a calm calligraphy studio
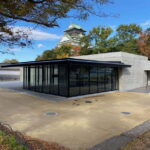
This experience runs in Shinsaibashi, the busy center of Osaka, but your class itself feels focused and unhurried. It takes place on the first floor of a hotel, so you’re not hunting through a studio maze. The meeting point is 1-chōme-1-3 Higashishinsaibashi, Chuo Ward, Osaka 542-0083, and it starts at 2:00 pm.
The location matters more than you might think. When a class is close to transit, you can show up without rushing, and calligraphy rewards that kind of calm. You’ll be aiming for a quick meet, then a full session that moves from explanation into practice.
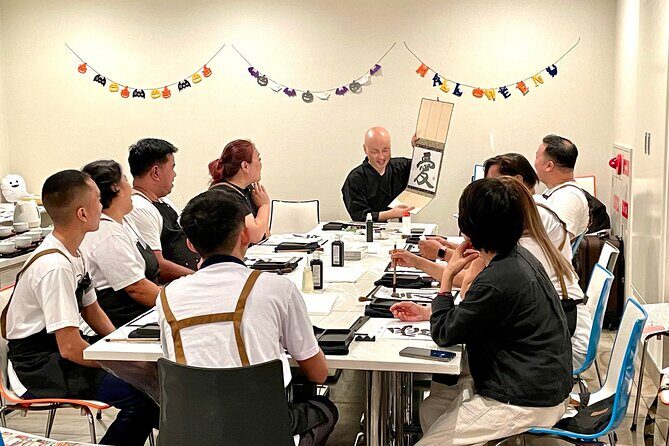
The group stays small, up to 10 people. That’s a good size for first-timers, because you can ask questions and get guidance without feeling lost in a crowd.
You can also read our reviews of more tours and experiences in Osaka.


What you actually make: one kanji, done your way
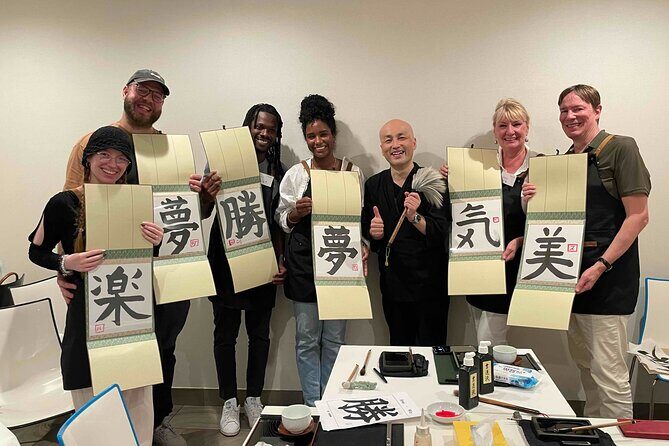
Your end product is a real piece of Japanese calligraphy you can keep. The class walks you through a set process, and you’ll choose one kanji from 16 characters that are popular overseas. That selection piece is key: you’re not guessing the brush style from scratch, and you’re not stuck drawing your own example onto the board.
The finished work is based on a specific board size: 242 × 273 mm. It’s the kind of size that looks good framed and doesn’t feel like a tiny craft. You also won’t just leave with loose paper. Your work gets set into a display style that functions like a hanging scroll. The frame is also foldable, which is a practical detail if you’re traveling with luggage and want something you can pack up safely.
If you like bringing home something that doesn’t just sit in a drawer, this format helps. A scroll-style piece is meant to be shown, and that changes how you’ll treat the souvenir once you’re back home.
Step-by-step: how the class builds your strokes
This class is designed like a mini lesson plan, not just a one-hour activity. You start with a cultural introduction, then move into tools, then into your own writing. The structure keeps you from feeling overwhelmed, because each new part has a purpose.
The culture story first
You begin with the story of Japanese culture and calligraphy. This isn’t a long lecture. It’s more like orientation: what calligraphy is, and why people treat it as more than pretty handwriting. Even if you don’t know the language, you can usually connect to the idea that calligraphy reflects how you think and concentrate.
Learning the tools (before you touch the brush)
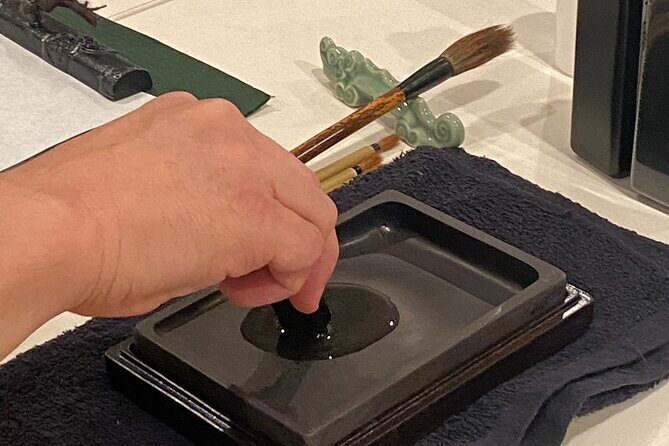
Next comes how to use calligraphy tools. This part is worth paying attention to, because the brush, ink, and paper behave differently than any typical art supplies you’ve used. The goal here is to help you avoid common beginner mistakes, like moving too quickly or gripping in a way that kills your control.




A demonstration from the instructor
Then you get a demonstration by the host/instructor. In the class setup, the teacher shows brush usage and how to approach the strokes. From what I’ve seen work well in these lessons, demonstration matters because it turns abstract advice into something your hands can copy.
In this class, the instructor is a longtime calligraphy teacher (listed as having 27 years of experience as a calligraphy instructor). That kind of experience shows in how the instruction is described as easy to understand and detailed.
Choosing your kanji
After the setup, you choose your favorite kanji from the prepared options. This is a smart moment to slow down. Pick based on what you can picture writing carefully, not what looks fancy from a distance. One character gives you enough focus to get a strong final piece without turning the lesson into a marathon.
Practice time with guidance
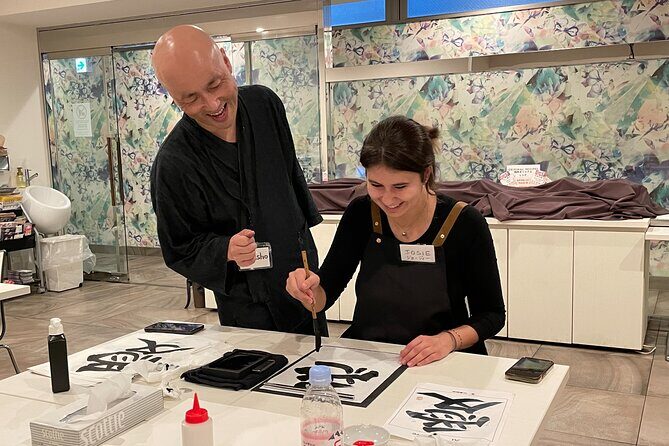
Then comes the practice. You’ll work on your brush technique and start treating the brush strokes as a sequence you can control. The class emphasis is on learning how to write the kanji by managing strokes one at a time, rather than trying to produce a perfect character on the first attempt.
Completing your original art
At the end, you complete your original art work, and it’s then prepared for presentation. You’ll place it into the special display case/frame as a hanging scroll of calligraphy, designed to be foldable and portable.
This is the part where your earlier practice pays off. You’re not scrambling at the end to figure out what to do; you’re finishing what you’ve already learned in the session.
Ryusho’s teaching style: clear, patient, and practical
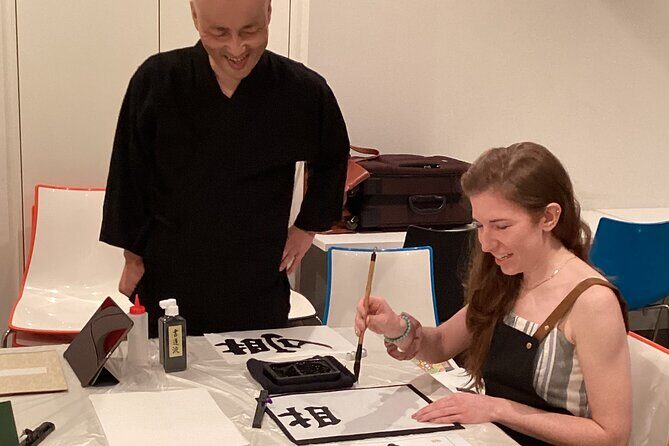
The host/instructor is named Ryusho. The class comes across as structured and teacher-led, with the kind of clarity that helps beginners move faster.
Here’s what that typically means for you in the room:
- You get explanations of letters and calligraphy, so the strokes have meaning.
- You learn the tools and brush handling before writing.
- You get a demonstration that sets a correct starting point.
- You get to choose a kanji and practice it with the instructor’s guidance.
That combination is what you want. If you only get a demo with no tools practice, beginners struggle. If you only get free-hand practice without structure, you might never feel confident. This class blends both: a calm intro, then hands-on skill-building, then a clean finish.
And because the group is small, you’re more likely to get the kind of quick correction that changes your final character.
The finale: tea, sweets, and a photo with your work
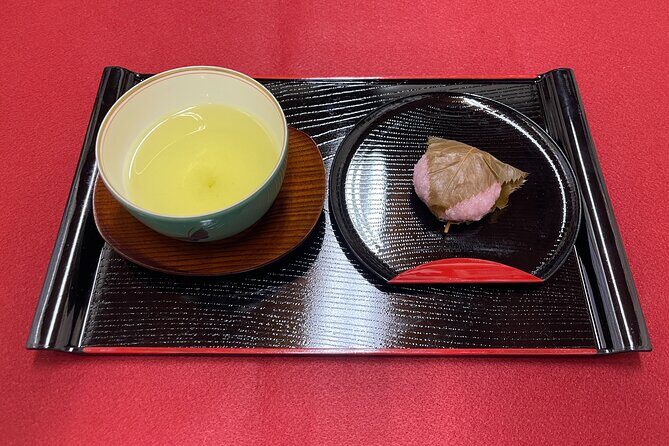
Once the brush work is done, you get the more relaxing side of the experience. You’ll have green tea and Japanese sweets, plus time for a commemorative photo.
This matters more than it sounds. Calligraphy can be mentally quiet and slightly demanding. Ending with tea gives you a moment to reset, look back at your finished piece, and enjoy it as art rather than a project you completed.
If you like capturing travel memories that are tied to something you made, this is a good setup. The photo also helps you document your specific kanji choice, which you may not remember clearly later.
Price and value: why $51.24 can make sense
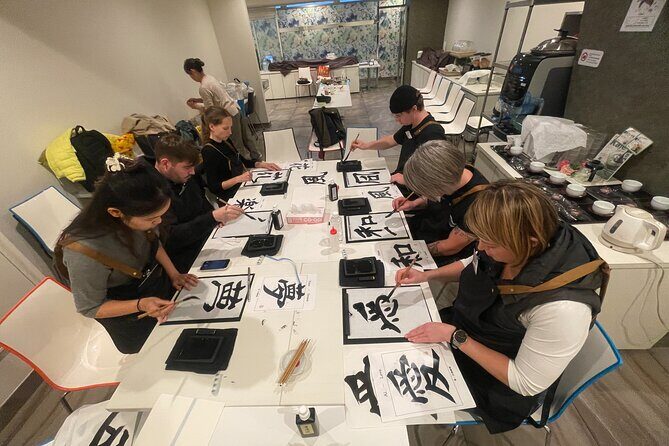
This costs $51.24 per person for a session around 1 hour 30 minutes, and that price includes the core experience: instruction, writing materials, and the finished presentation you take home.
It’s not a generic craft where you leave with a quick paper copy. You get:
- guided learning of tools and strokes
- your own selected kanji
- a finished piece prepared in a scroll-style display frame
- tea, sweets, and a photo moment
For many travelers, the value comes from not having to buy supplies or figure out what to do with them afterward. Your final product is designed to be display-ready. If you’ve ever bought a souvenir and then wondered where it would fit in your apartment, a hanging-scroll format solves that problem.
Also, small group size (max 10) is part of the value equation. It usually means more attention per person than larger classes.
Who this is best for (and who might want to think twice)
This class is a strong fit if you:
- want a hands-on cultural activity in Osaka
- like taking home something you made yourself
- enjoy slow, focused experiences with clear steps
- want something beginner-friendly without needing prior art skills
It might be less ideal if you:
- have a very specific kanji you need (you’ll choose from the provided 16)
- want a longer, deeper calligraphy session with multiple characters or multiple practice sheets
- dislike tool-based activities where your hands will be doing most of the work
But for most first-timers, the structure is exactly the point. One character is enough to make you feel you learned something real.
A few practical tips so your character looks its best
You don’t need calligraphy experience, but you’ll get better results if you:
- pay attention during the tool explanation, not just the moment you start writing
- move at the pace the instructor models during the stroke practice
- choose a kanji you can commit to carefully, not one you only like for how it looks in passing
Also, wear clothing that’s comfortable for leaning in and working with controlled hand motions. You’ll be surprised how much “comfortable posture” helps.
Should you book Japanese calligraphy in Osaka?
I think you should book this if you want an authentic Osaka cultural experience that ends with a meaningful, take-home art piece. The price is reasonable for what you get: instruction, hands-on practice, and a finished scroll-style display plus tea and sweets.
It’s also a smart choice if you’re short on time. An hour and a half is long enough to learn and finish, but not so long that the day becomes heavy.
One last check: if there’s a specific kanji you’re hoping to write, confirm it’s among the 16 options. Otherwise, you’ll still end up with a character you choose on the spot, and that choice is part of the fun.
If your goal is to bring home something you’ll actually hang or display, this is the kind of class that can turn travel into art.